
Copyright (c) 2023, Intercom, Inc. (
[email protected]) with Reserved Font Name "Montserrat". This Font Software is licensed under the SIL Open Font License, Version 1.1.Copyright (c) 2023, Intercom, Inc. (
[email protected]) with Reserved Font Name "Inter". This Font Software is licensed under the SIL Open Font License, Version 1.1. Table of contents Set your Project Photo from the Photos Page
Choose your project thumbnail image from the Photos page
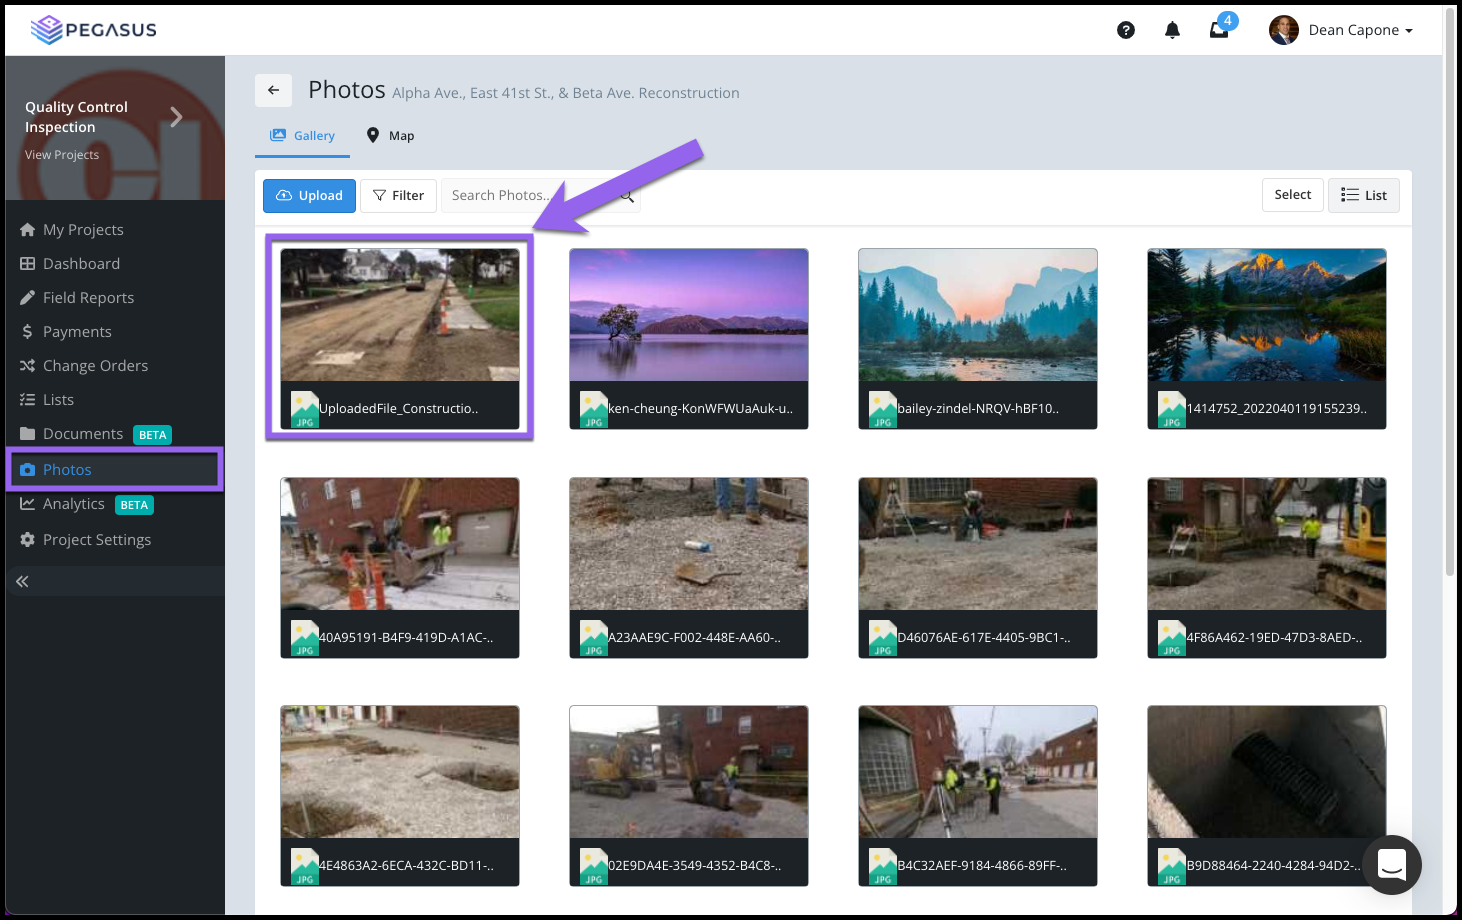
Updated over 2 years ago Table of contentsNavigate to your project's Photos page.
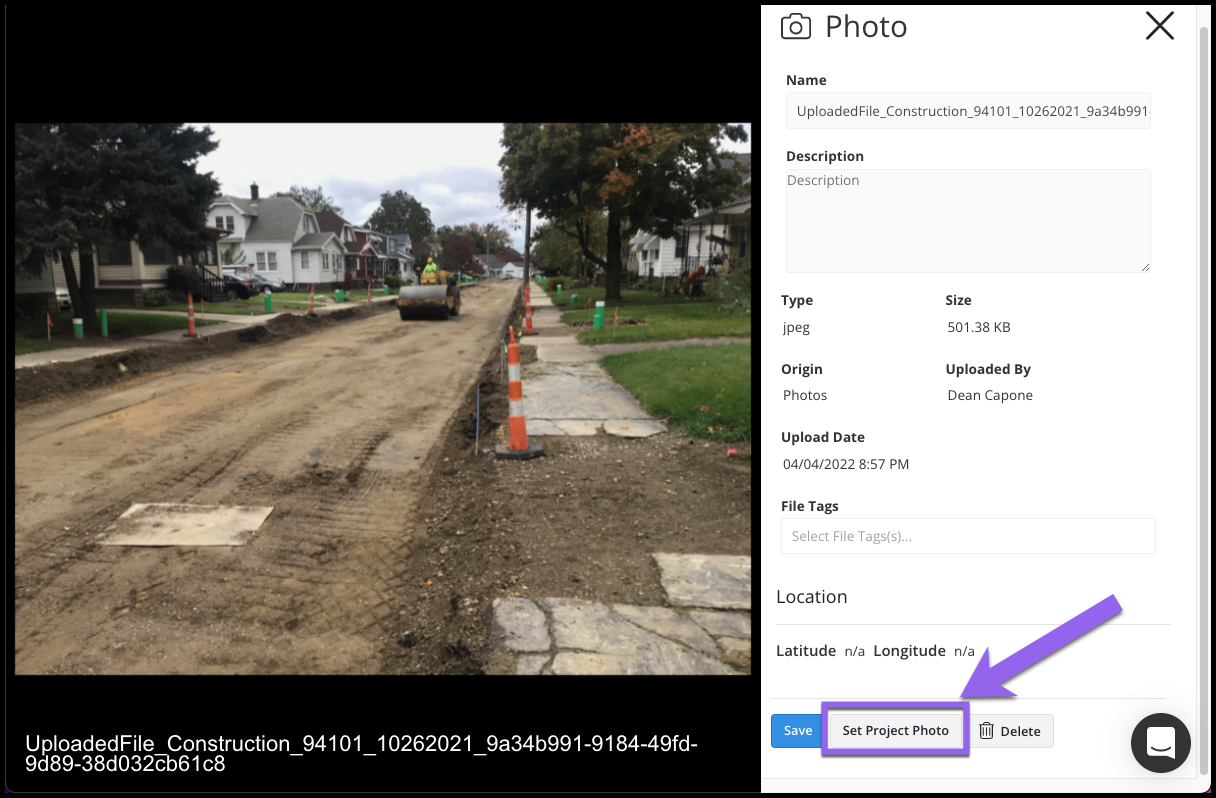
Locate and select the photo you would like to set as your project photo.

From the side blade widget, select the Set Project Photo button.

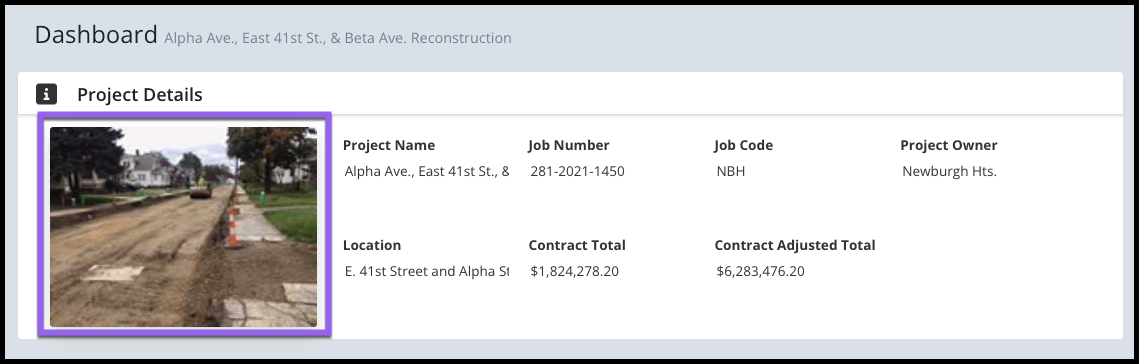
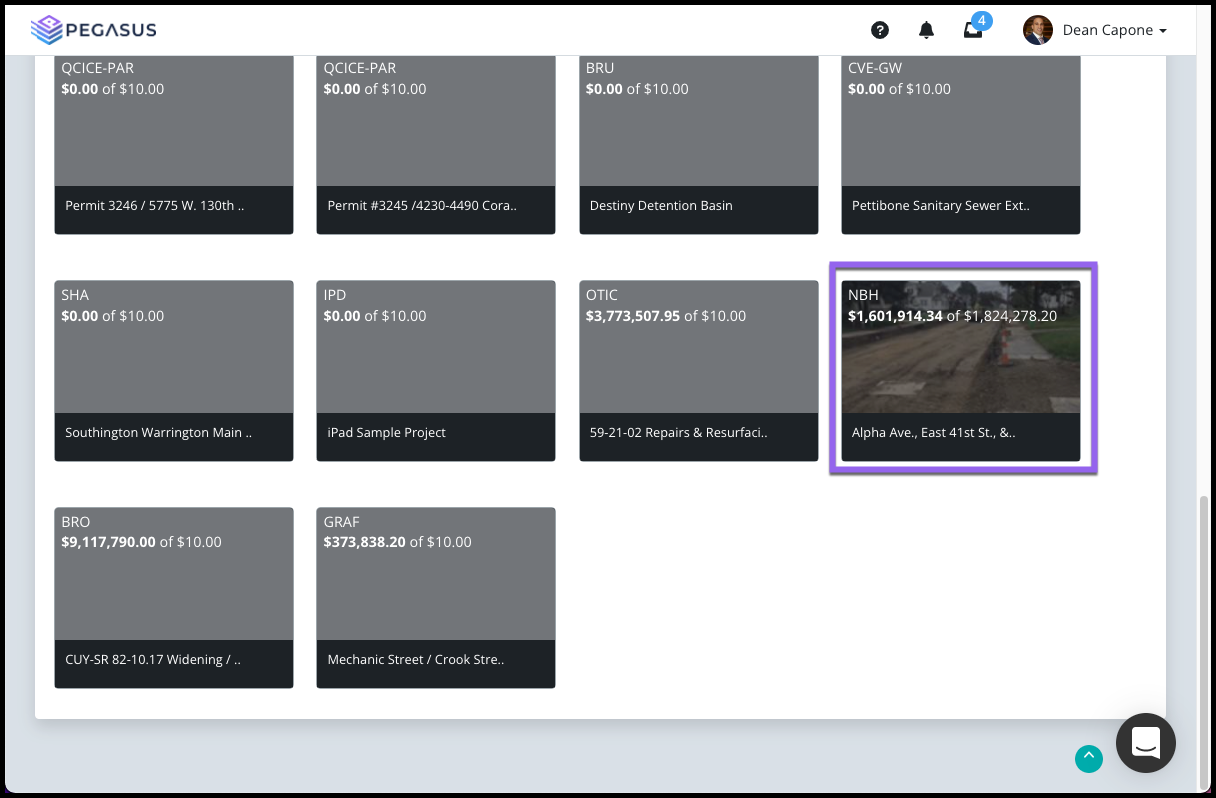
Congratulations! You have just changed your Project's thumbnail photo. This photo can be viewed from the My Projects Page and the Project Dashboard. Feel free to change the photo as needed.

